


Akia Screens
Edge Free Fixed Frame CineWhite® UHD-B Projector Screen | ISF Certified Tensioned Matte White Material
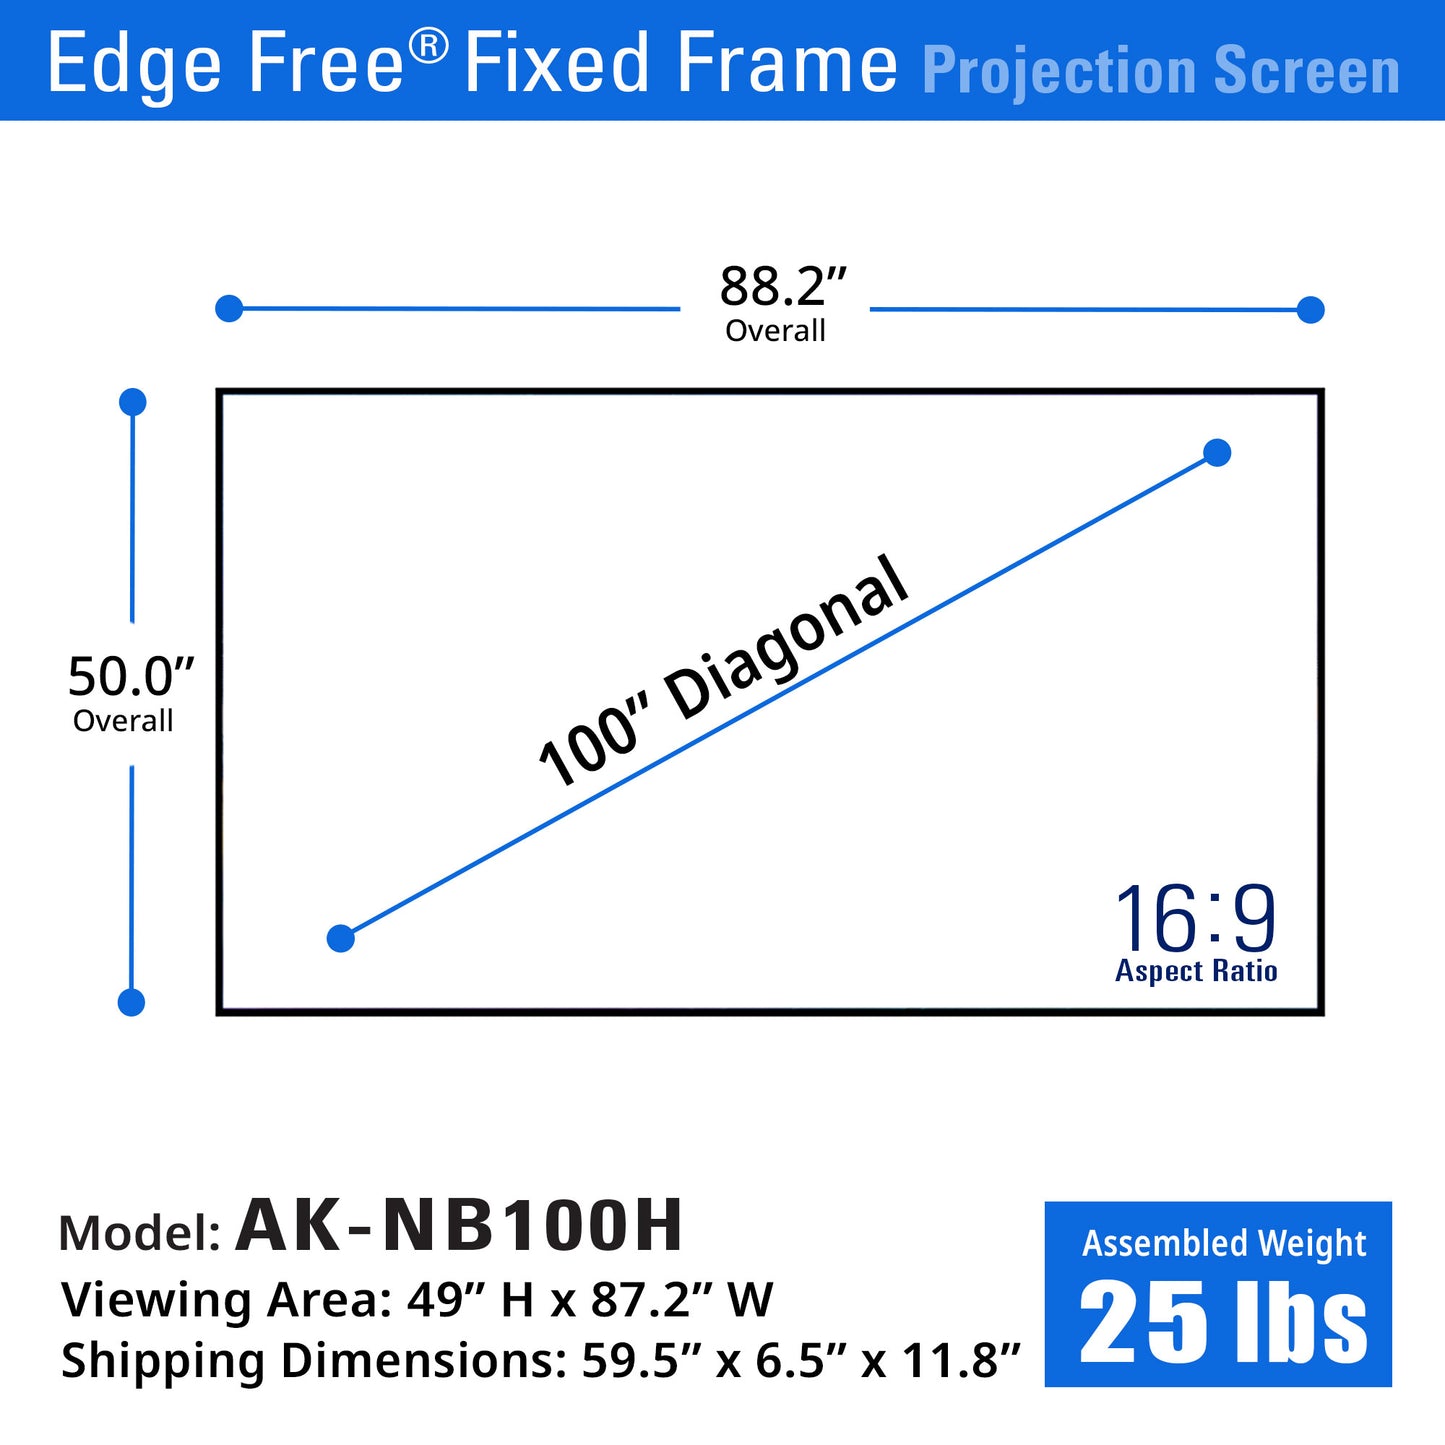
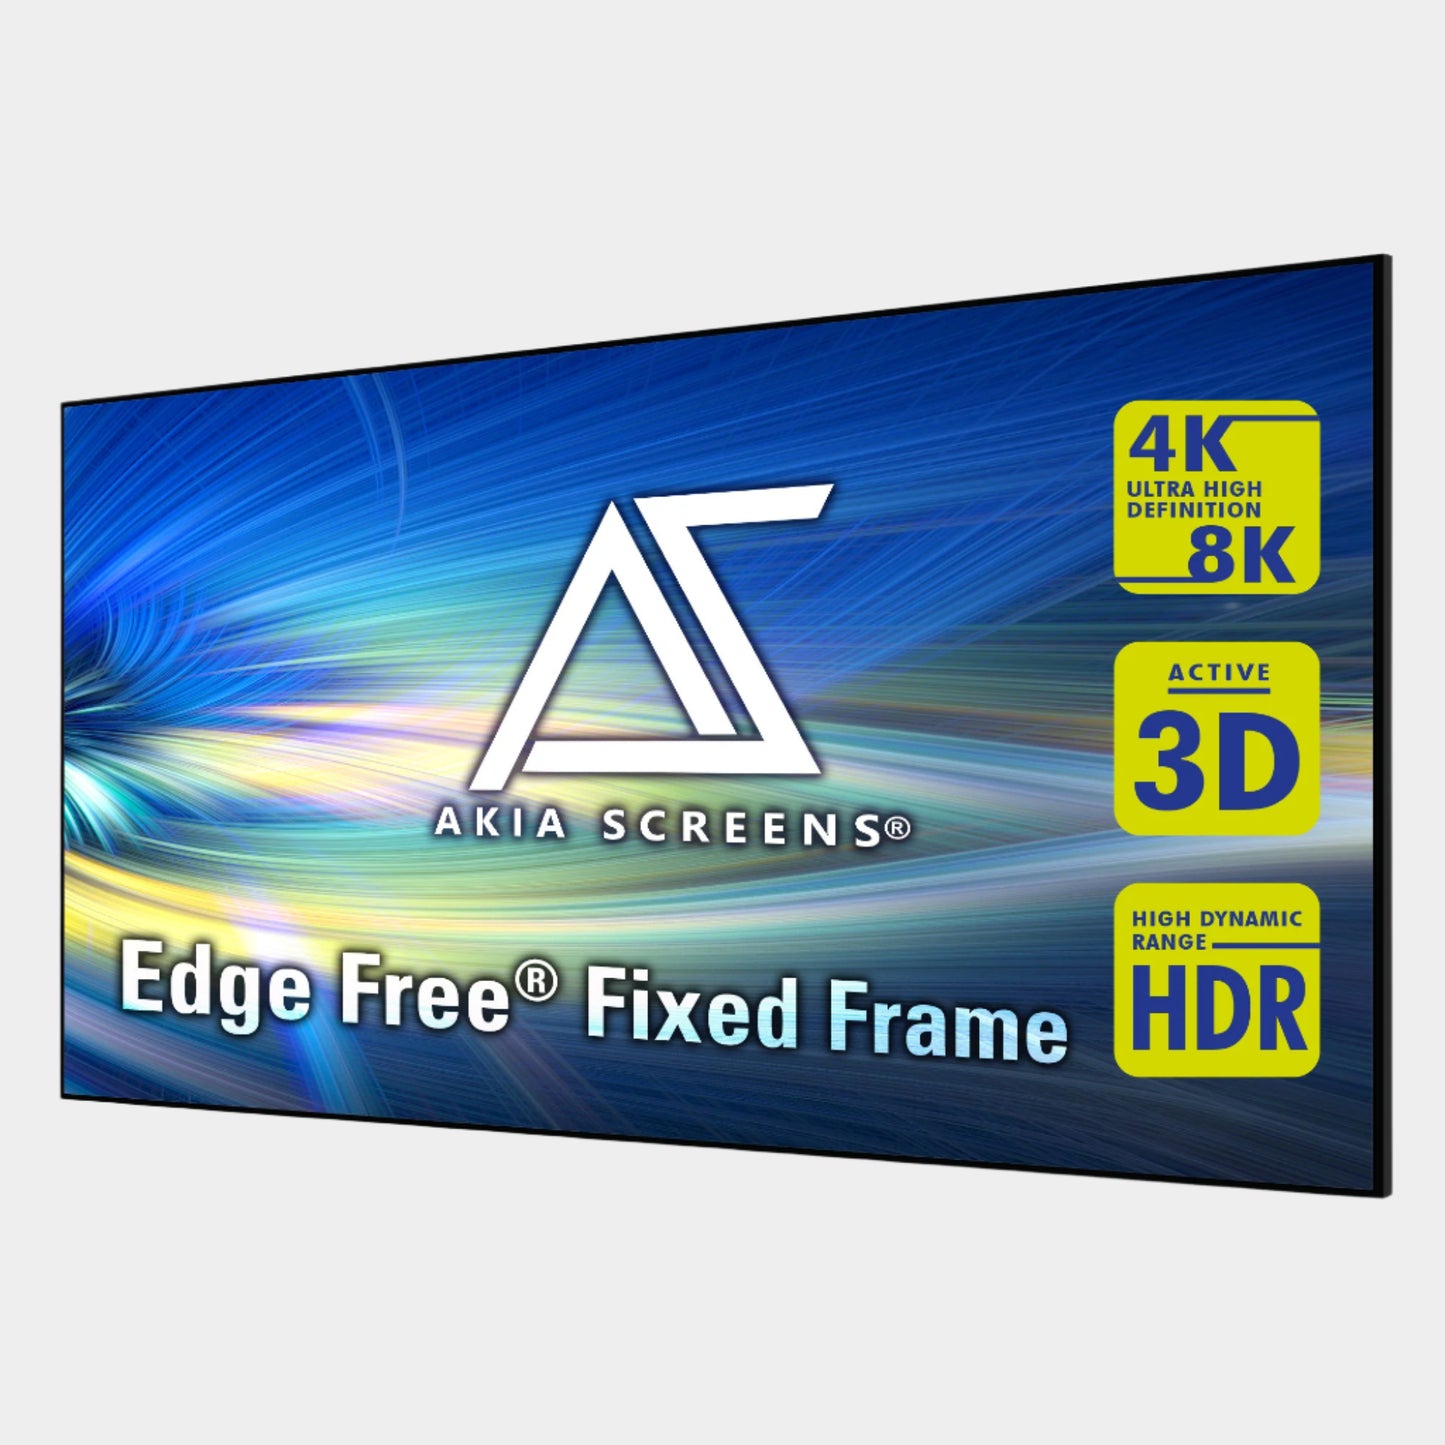
Edge Free Fixed Frame CineWhite® UHD-B Projector Screen | ISF Certified Tensioned Matte White Material
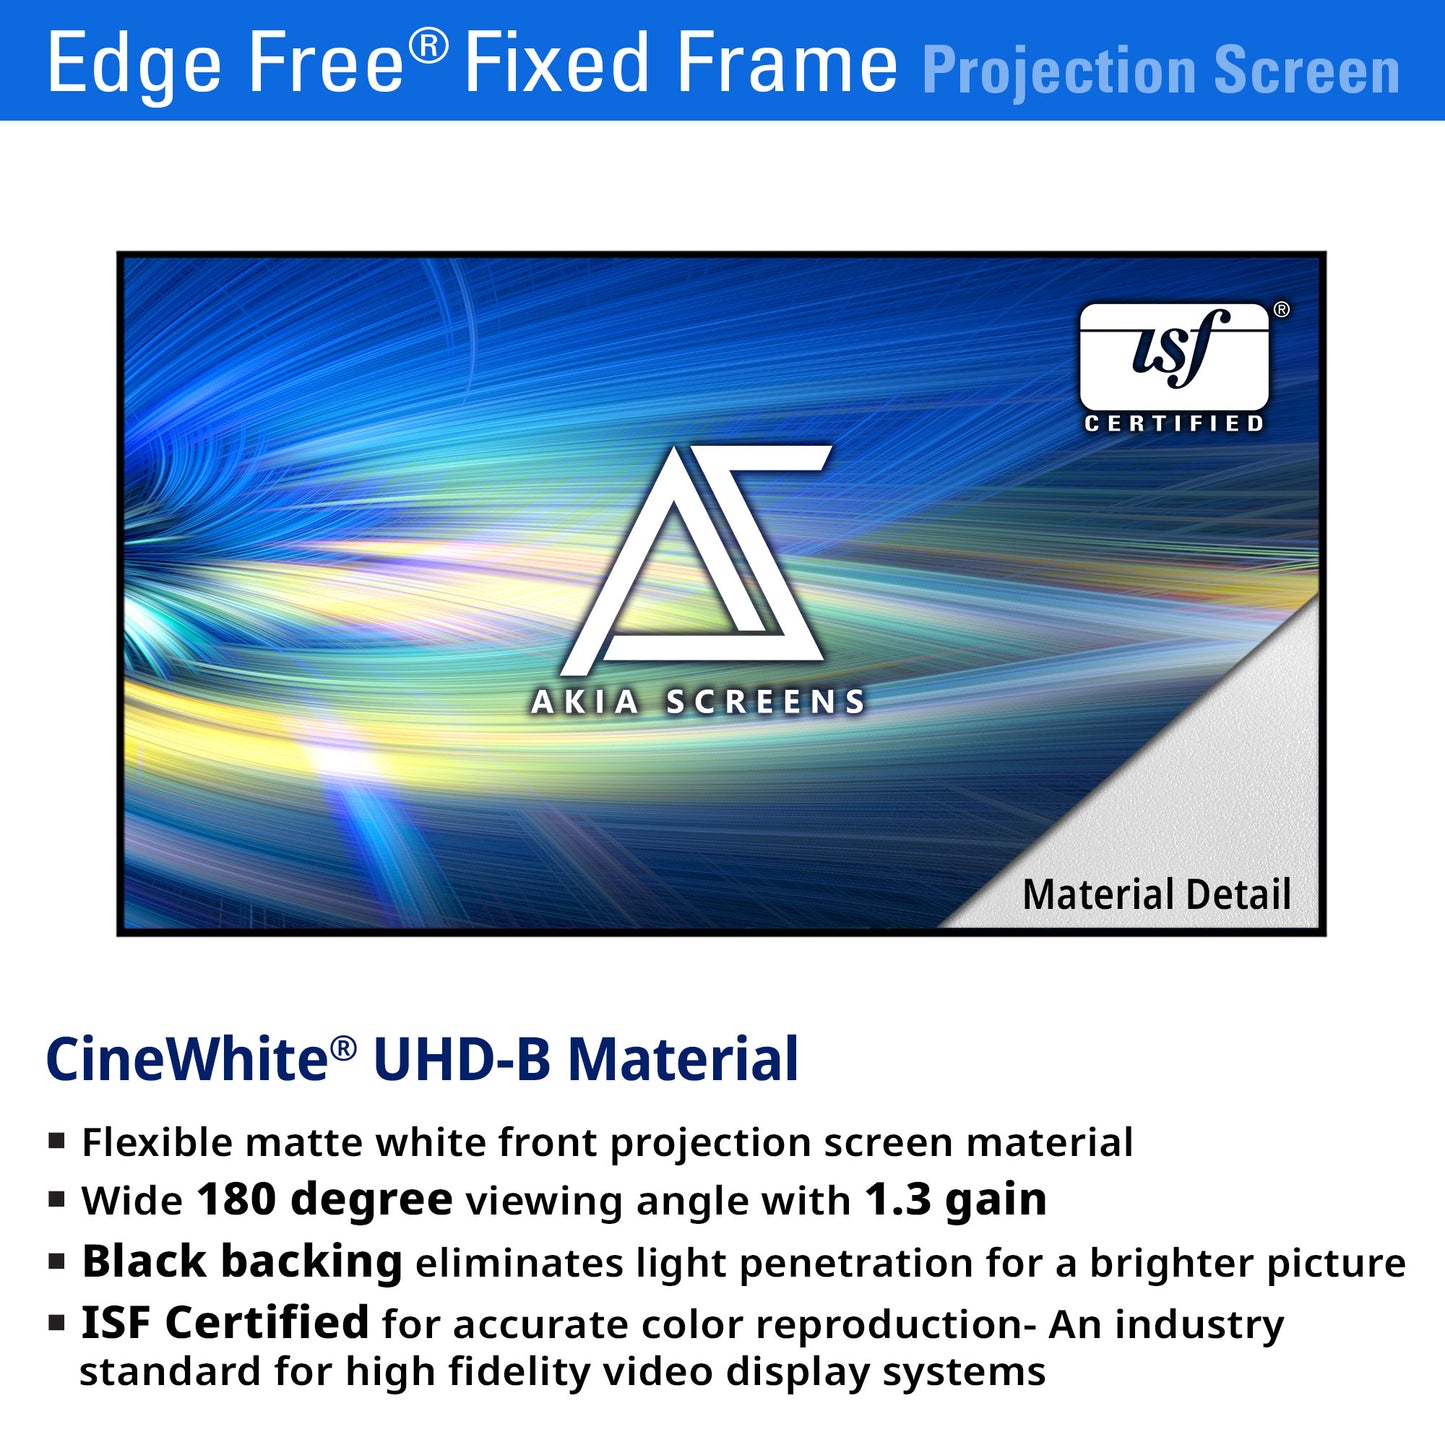
• Screen Material : CineWhite® UHD-B
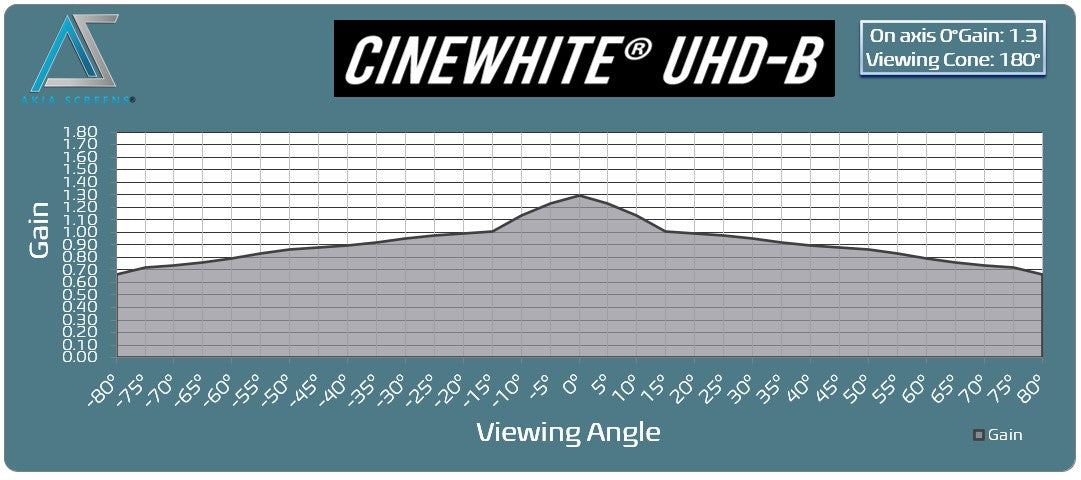
• Gain : 1.3
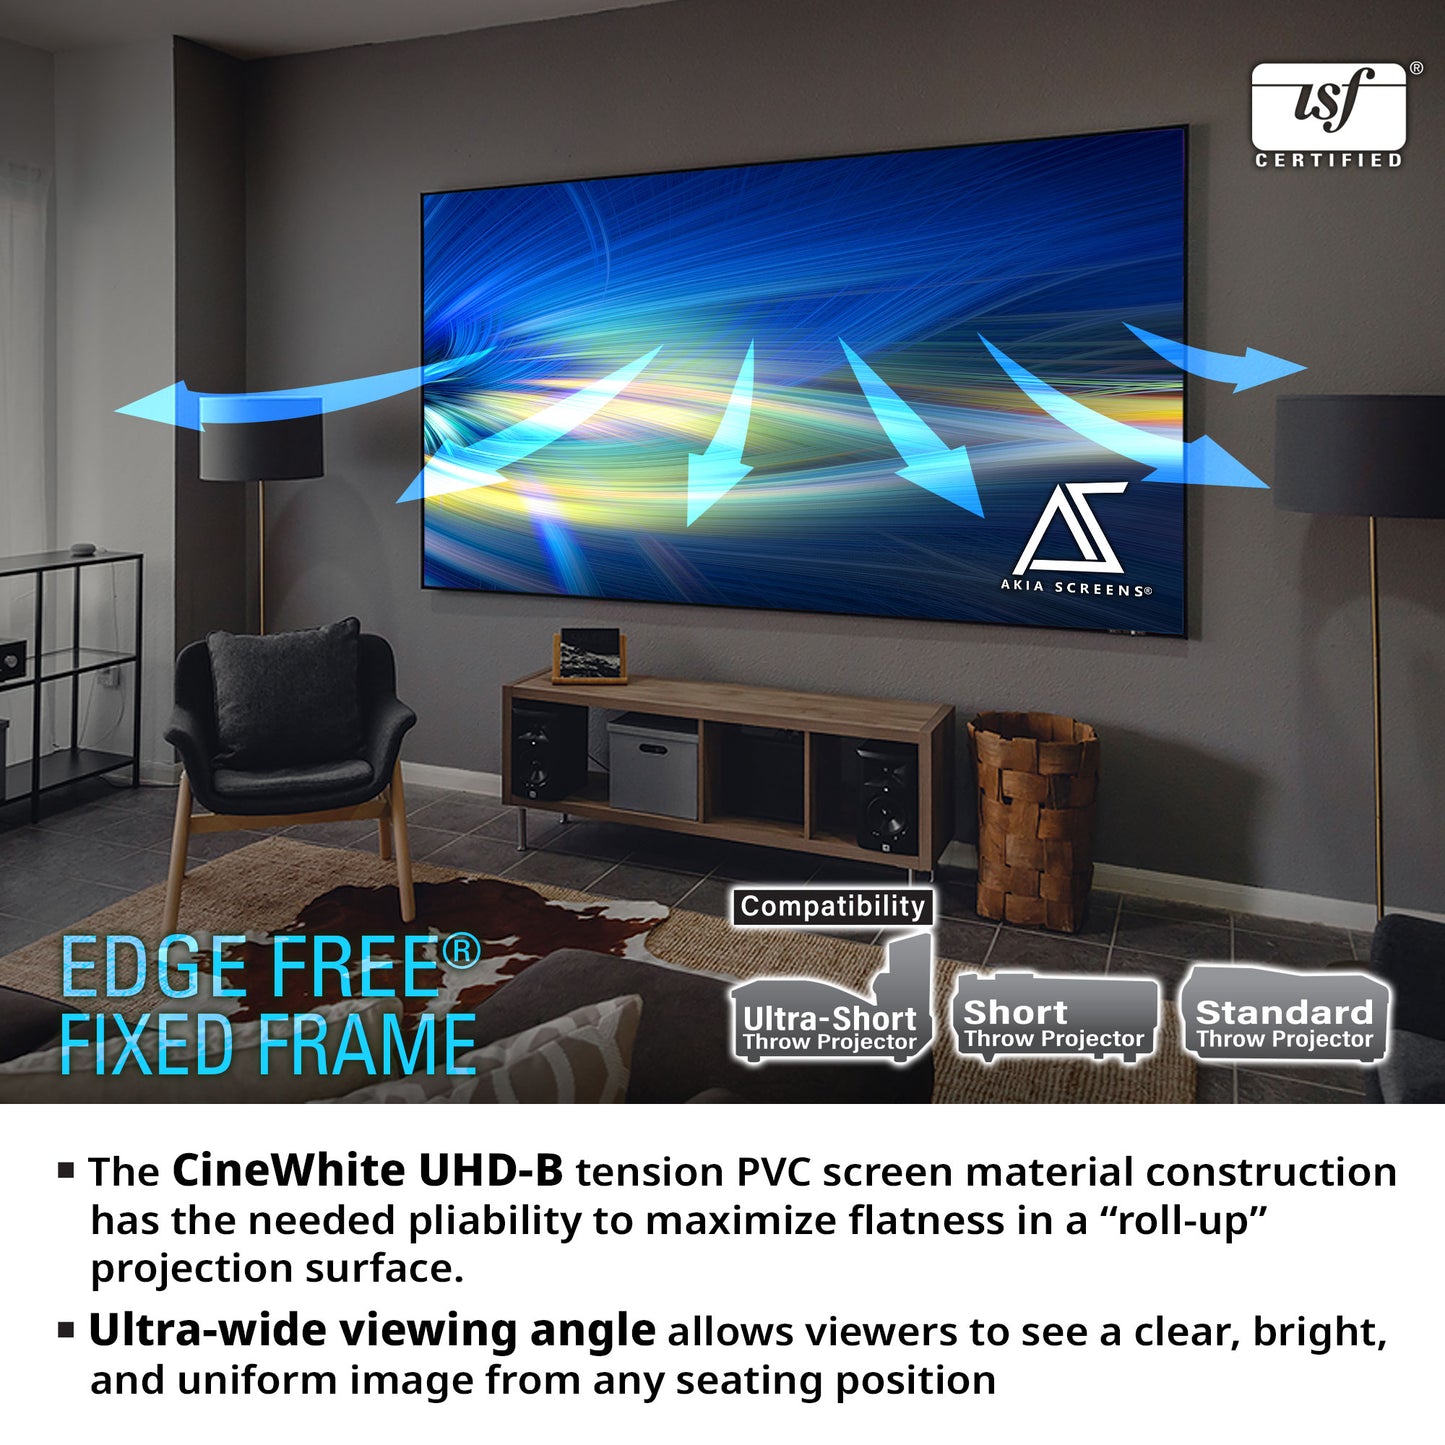
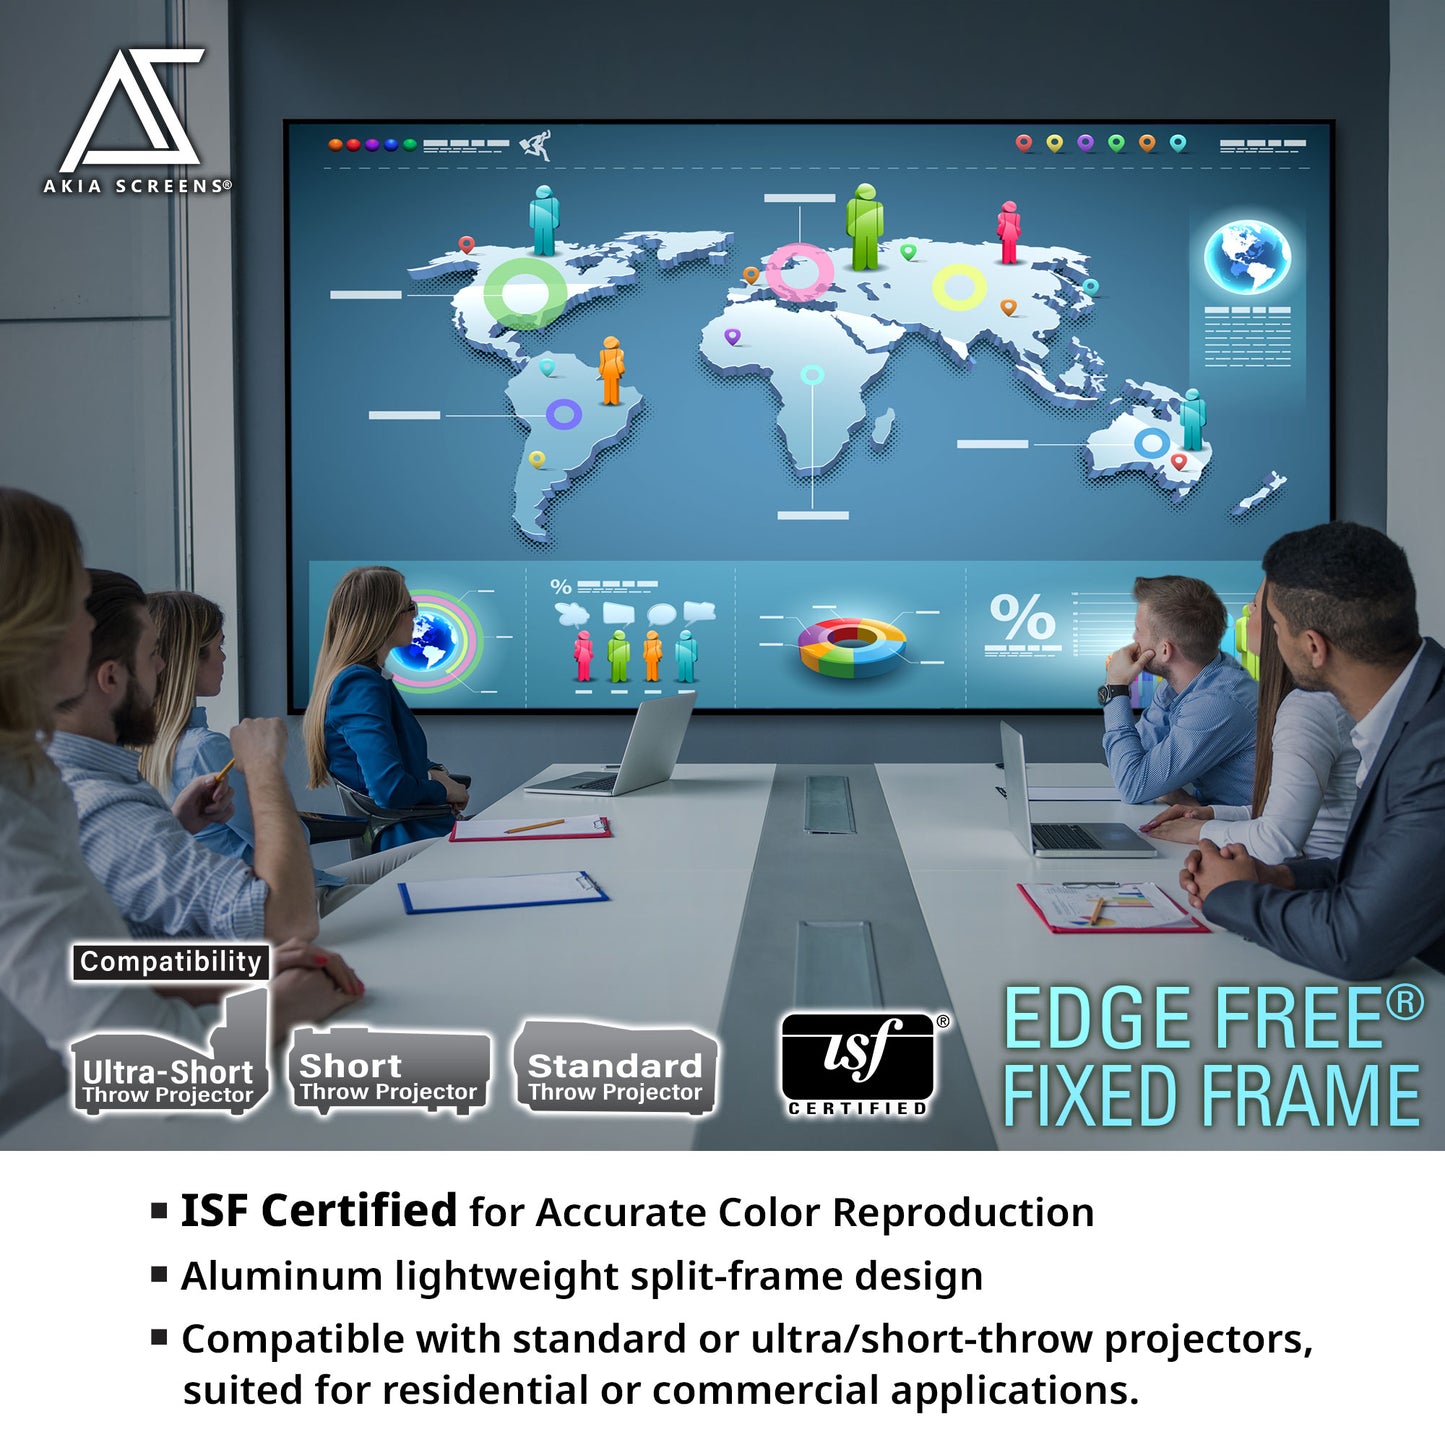
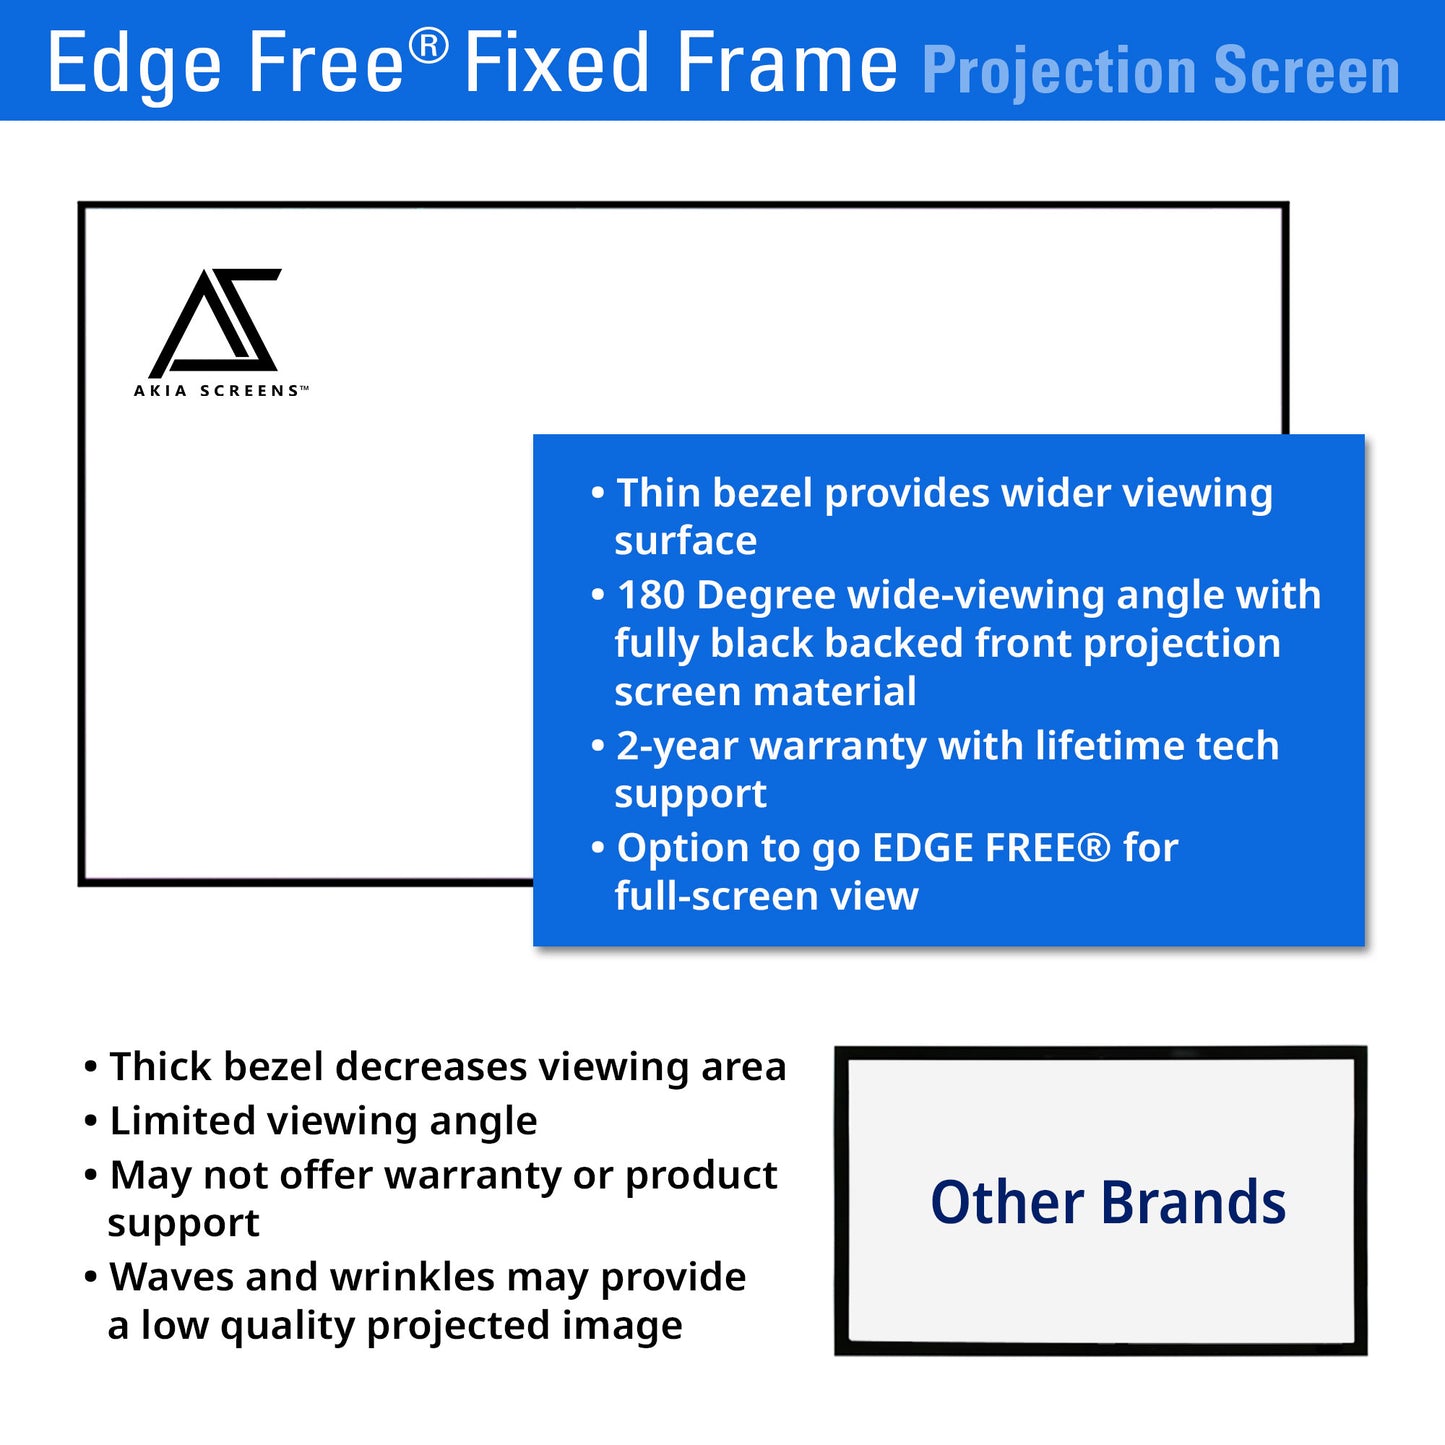
• Viewing Angle : 180°
• Certifications : ISF Certified
• Gain : 1.3
• Viewing Angle : 180°
• Certifications : ISF Certified
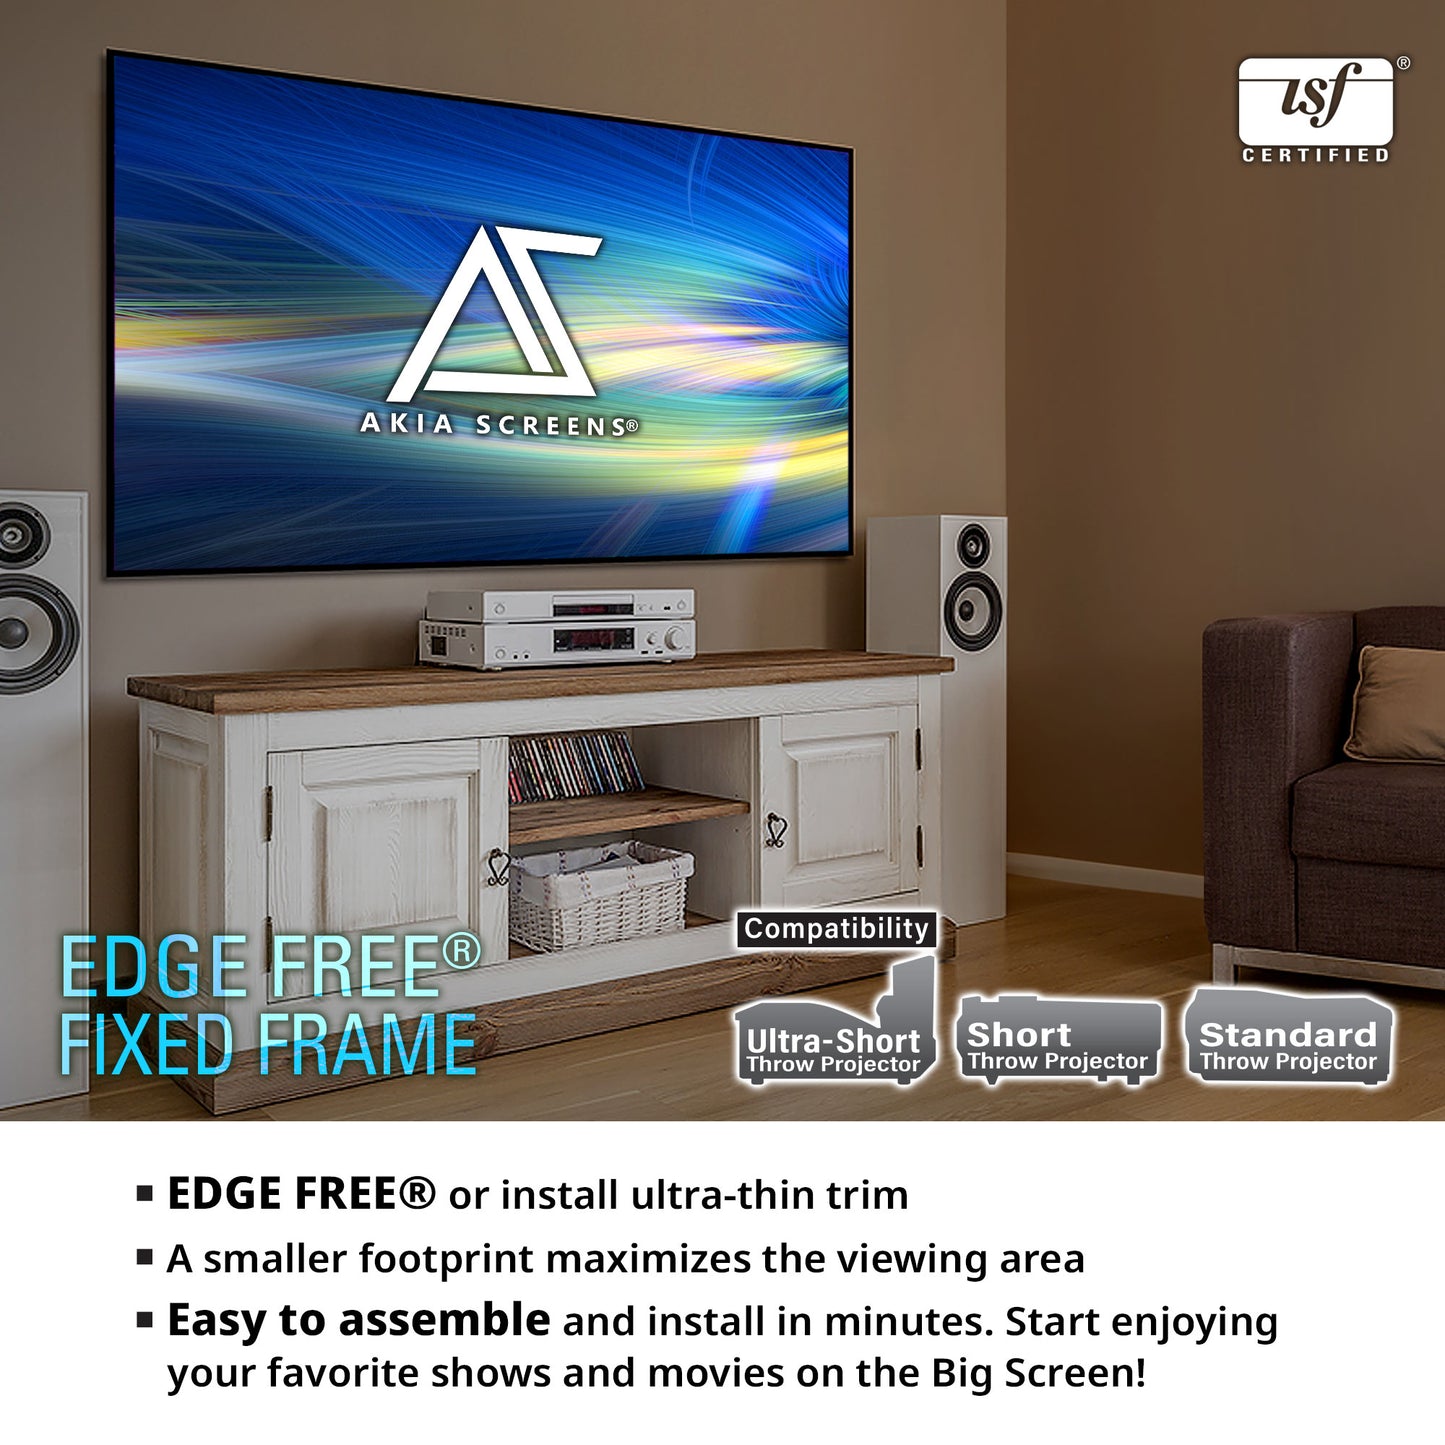
• Compatible Projection :
UST
Short Throw
STD Throw
Downloads
User Guides
- User's Manual (PDF)
- N-type User's Manual (PDF)
- Z-type User's Manual (PDF)
- M-type User's Manual (PDF)
- EN-type User's Manual (PDF)
Dimensions Tables
Others
Regular price
$199.00 USD
Regular price
Sale price
$199.00 USD
Unit price
per
Free Shipping To The Continental U.S 48 States | Shipping Policy
SKU:AK-NB100H1
Couldn't load pickup availability
Screen Material Information
| Screen Material | CineWhite® UHD-B |
|---|---|
| Description | CineWhite® UHD-B is a front projection screen material that is certified by the world-renowned Imaging Science Foundation for achieving accurate color reproduction and image fidelity. |
| Type of material | Tensioned Matte White (PVC Flexible) |
| Projection Type | Front |
| Ambient Light Rejecting | No |
| Gain | 1.3 |
| Viewing Angle | 180° |
| Black backing | Yes |
| 3D Ready | Active 3D |
| 4K/8K Ultra HD Ready | Yes |
| Ultra/Short-throw projector compatible | Yes |
| Minimum Throw | 0.2 x Image Width |
| Best for Environments | Versatile for multiple applications in a light controlled room |
| GREENGUARD Certified | No |
| ISF Certified | Yes |
Shipping & Returns
Shipping & Returns